If you need to remap the keys on your Nada65 Panda keyboard, follow these steps to get started with VIA:
1. Connect Your Keyboard
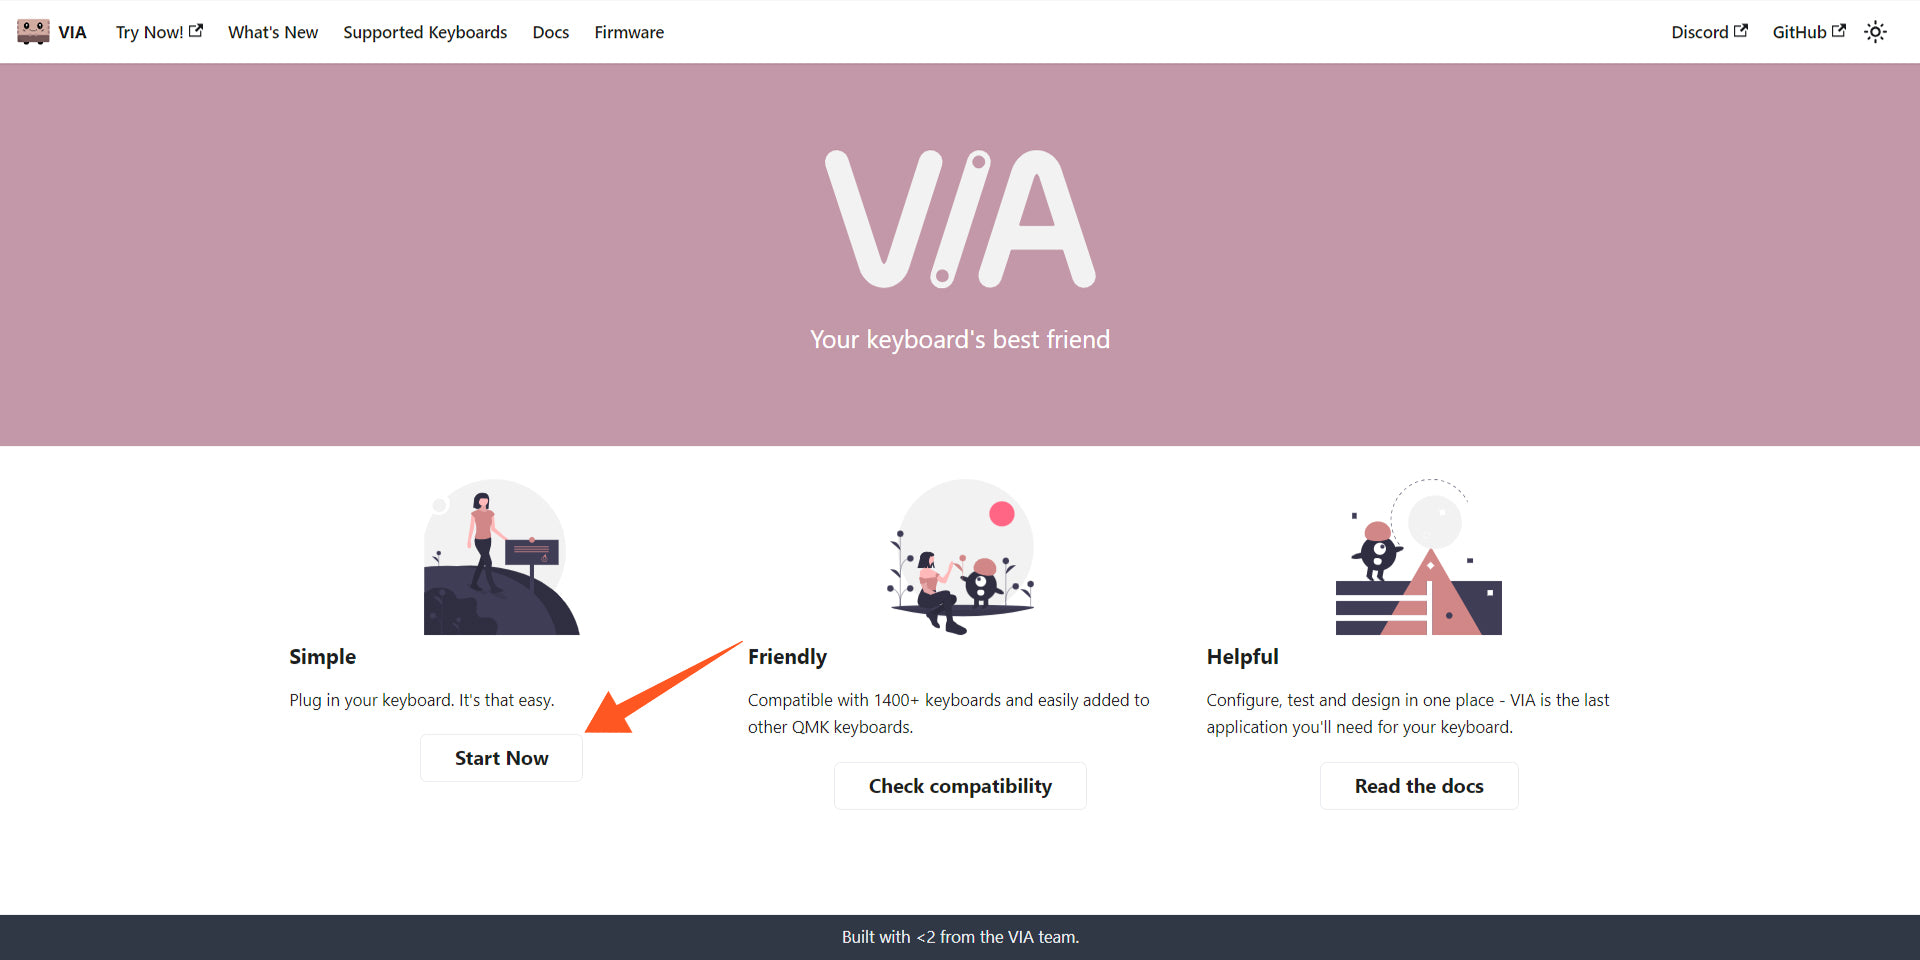
Use the provided cable to connect your Nada65 Panda keyboard to your computer. Then, visit https://usevia.app/ and click ‘Start Now’ to begin.
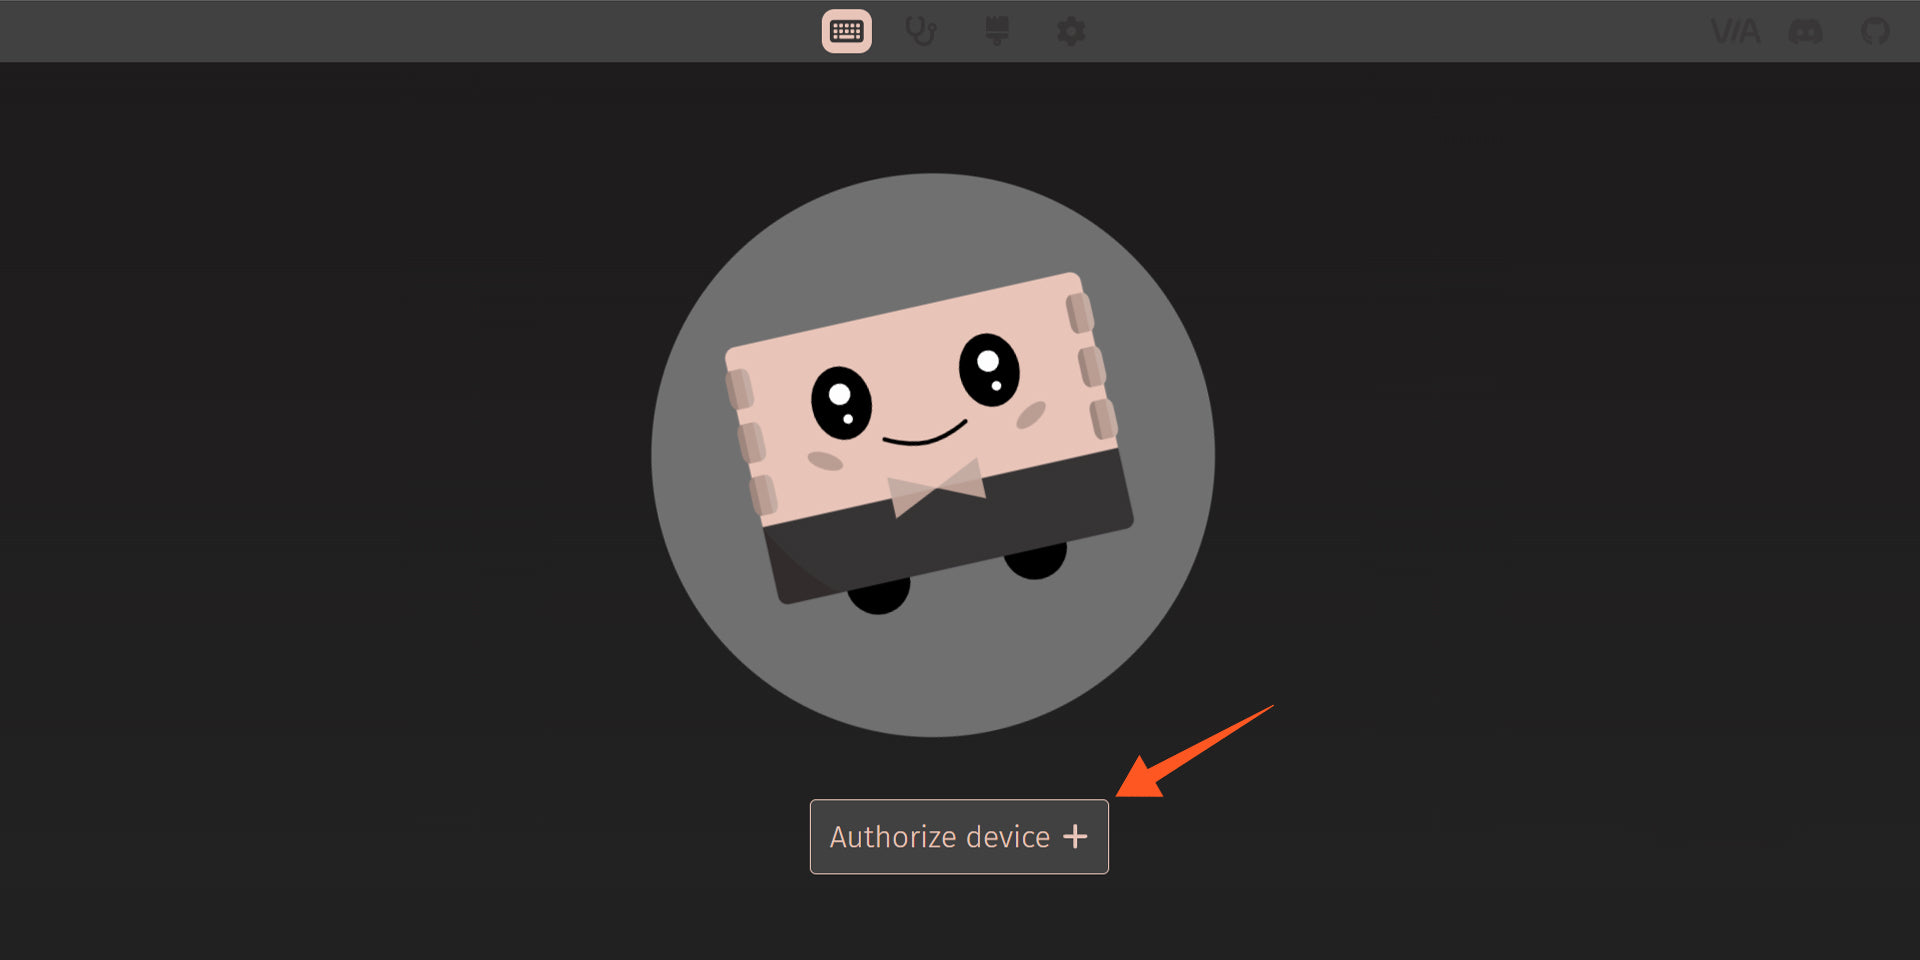
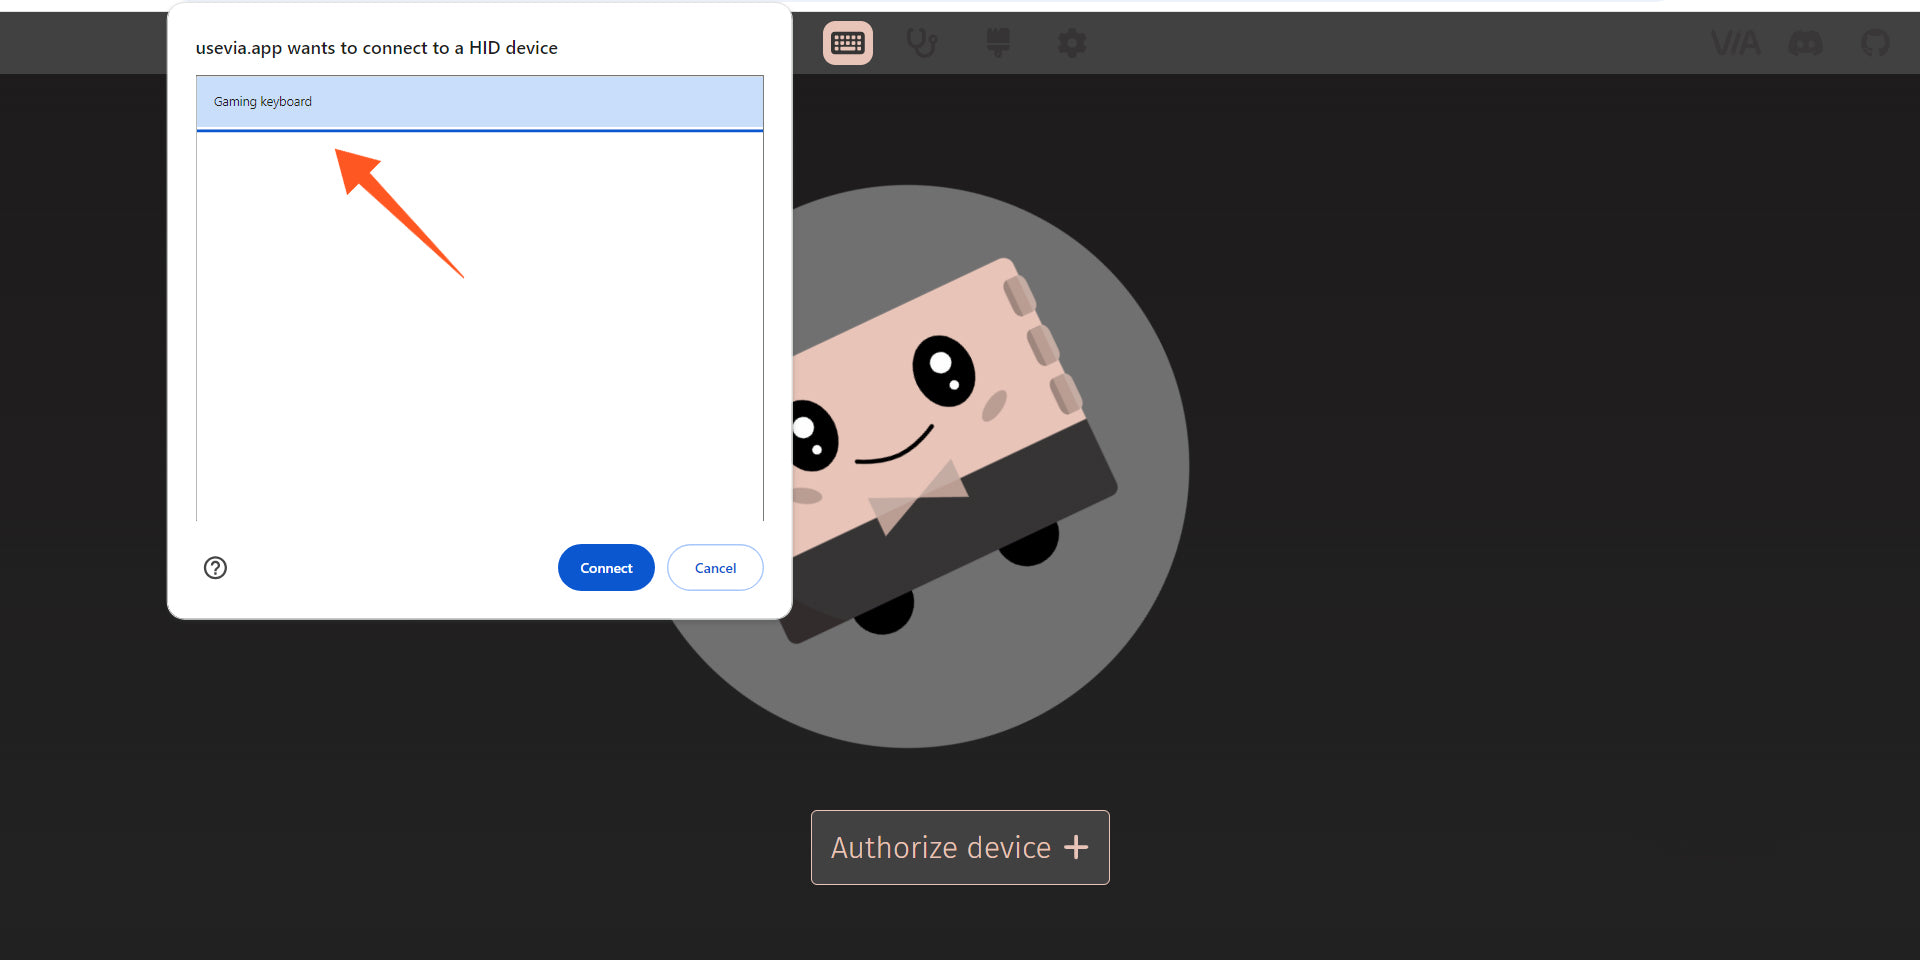
2. Authorize Your Keyboard
Once VIA is open, authorize your keyboard to enable configuration. If no keyboard appears for authorization, ensure that your keyboard is in the correct mode.
3. Download the Latest JSON File
Download the most recent VIA files for the Nada65 keyboard from here:
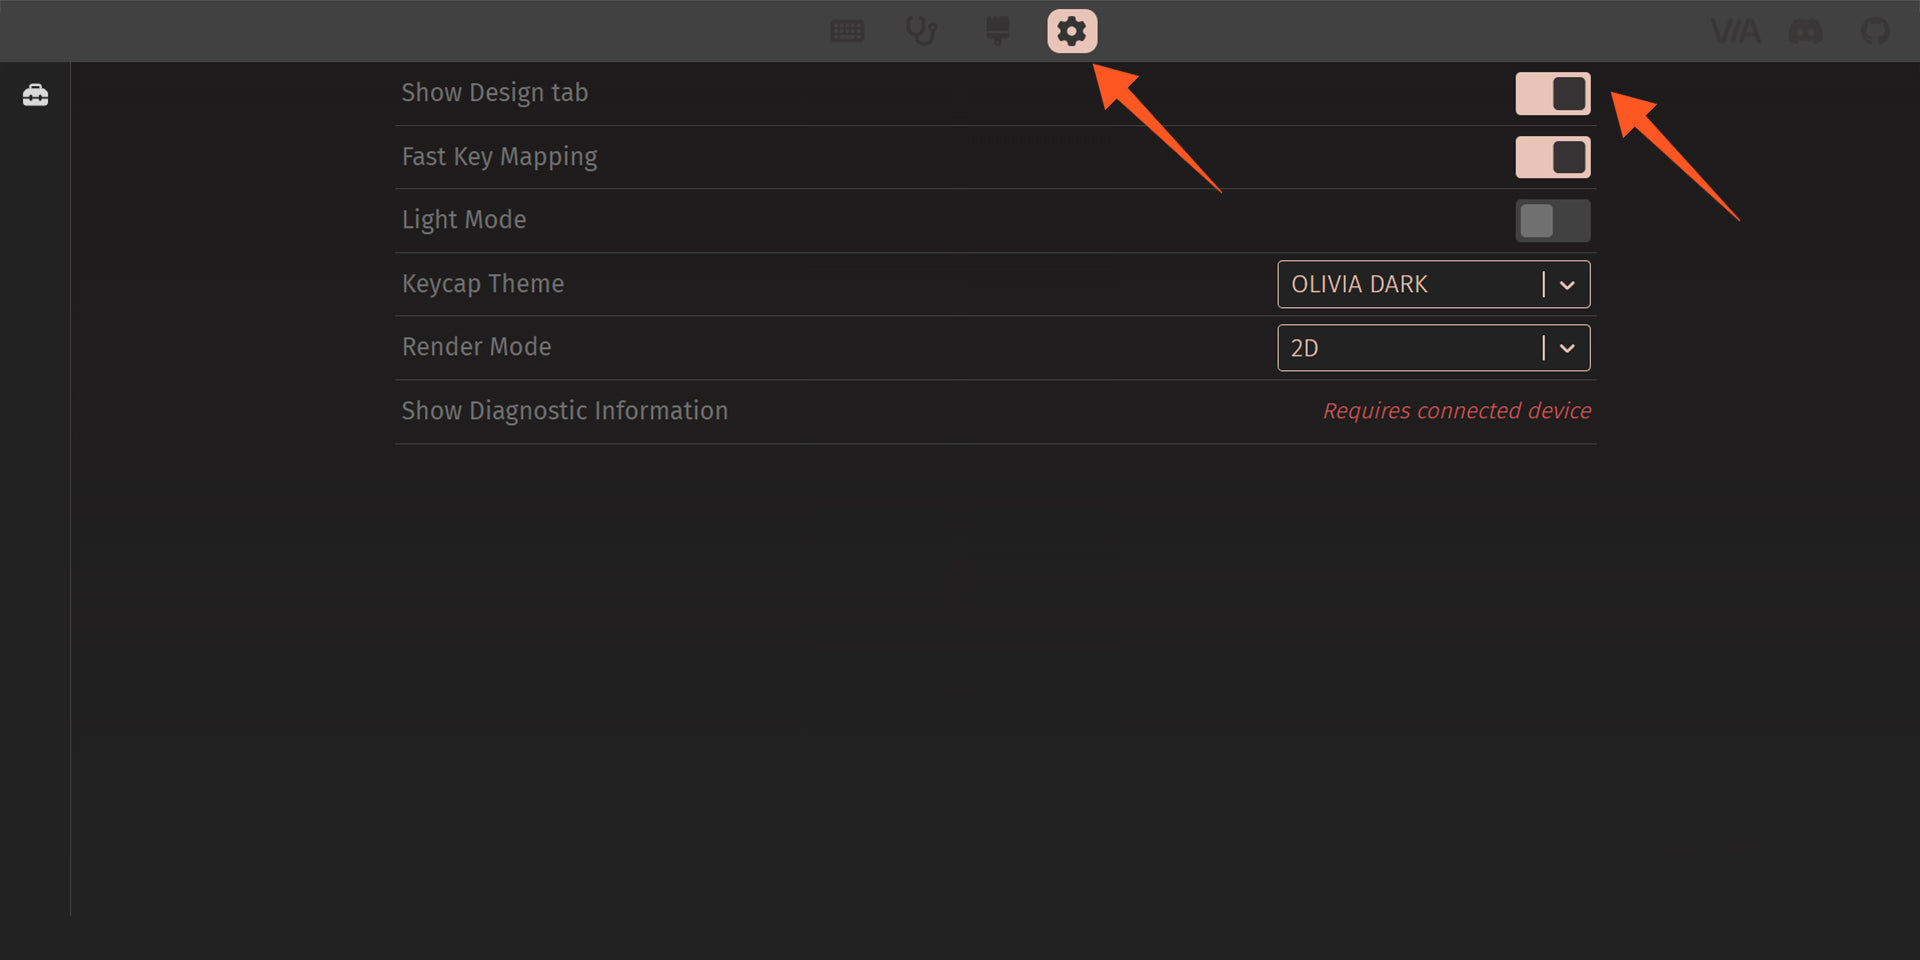
4. Enable the "Design" Tab
After downloading the JSON file, go to VIA's Settings tab. Make sure the "Show Design" option is enabled. If it’s already turned on, you can skip this step.
5. Load the JSON File
Navigate to the new Design tab, then upload the JSON file you just downloaded.
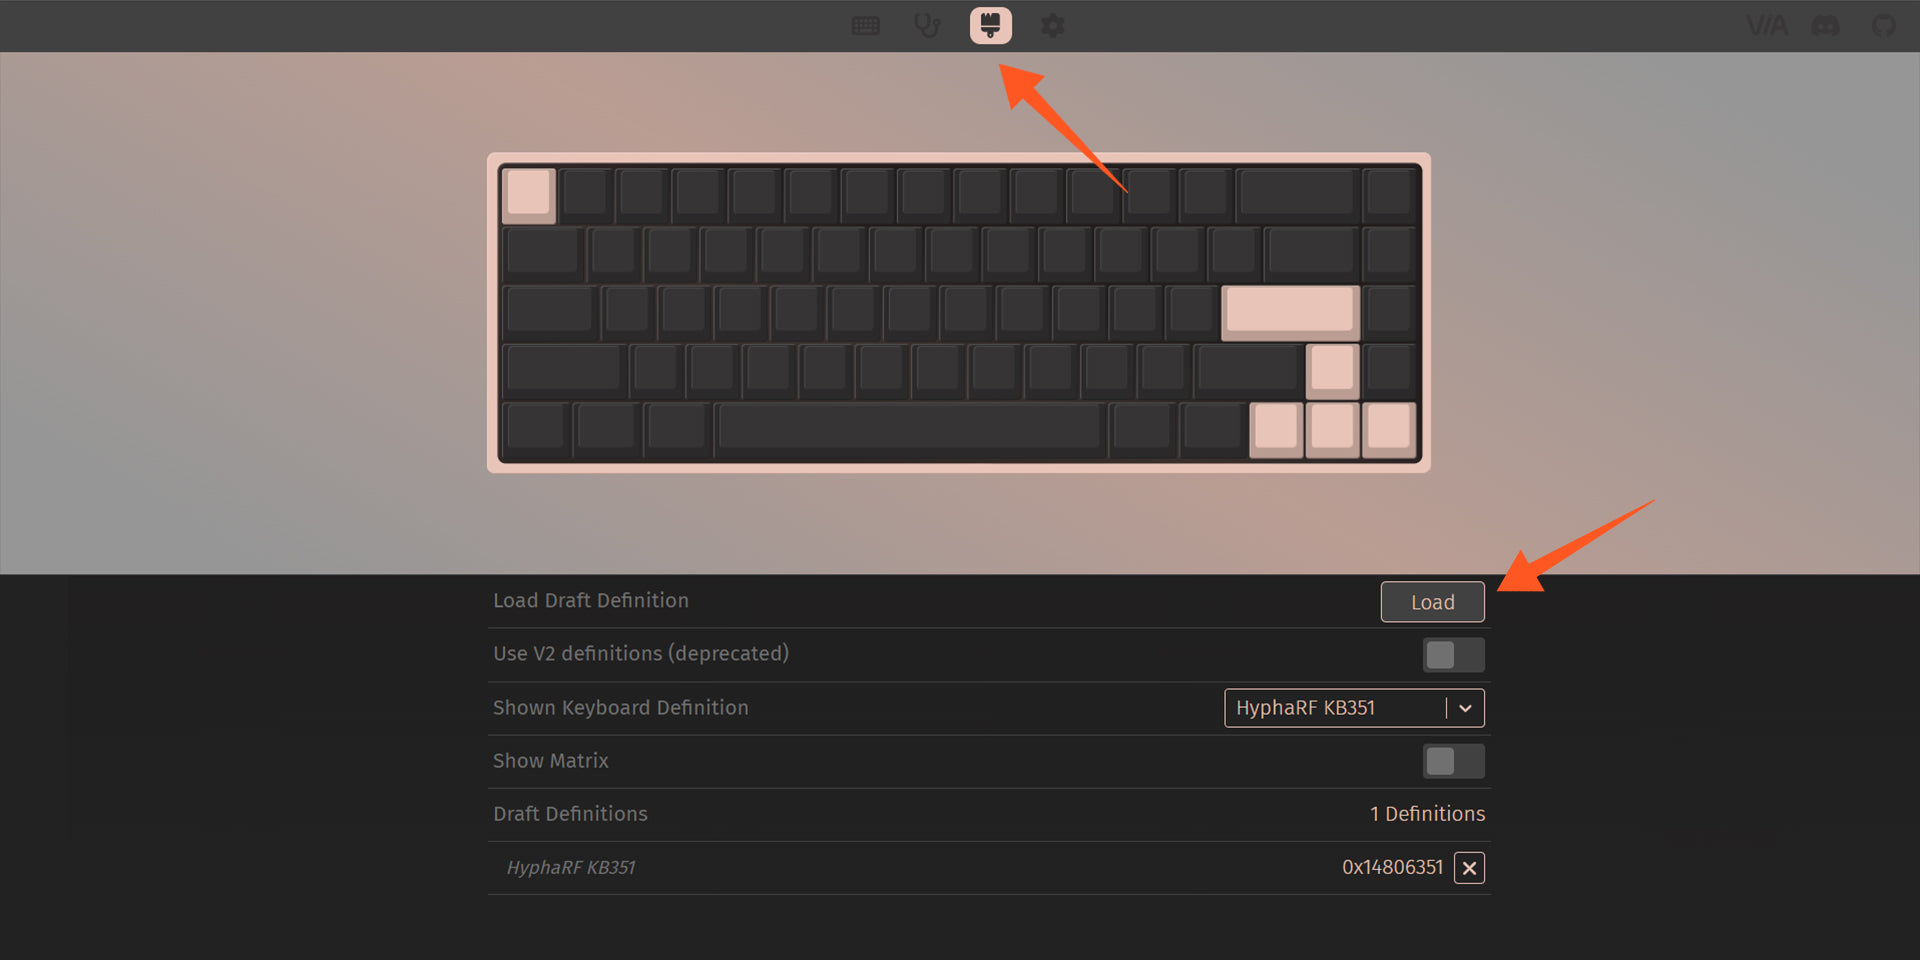
Your interface should now display the correct layout for your Nada65 Panda keyboard.
6. Configure Your Keyboard
With the keymap loaded, go to the Configure tab, where you’ll see your keyboard with the correct keymap. You’re now ready to start remapping!

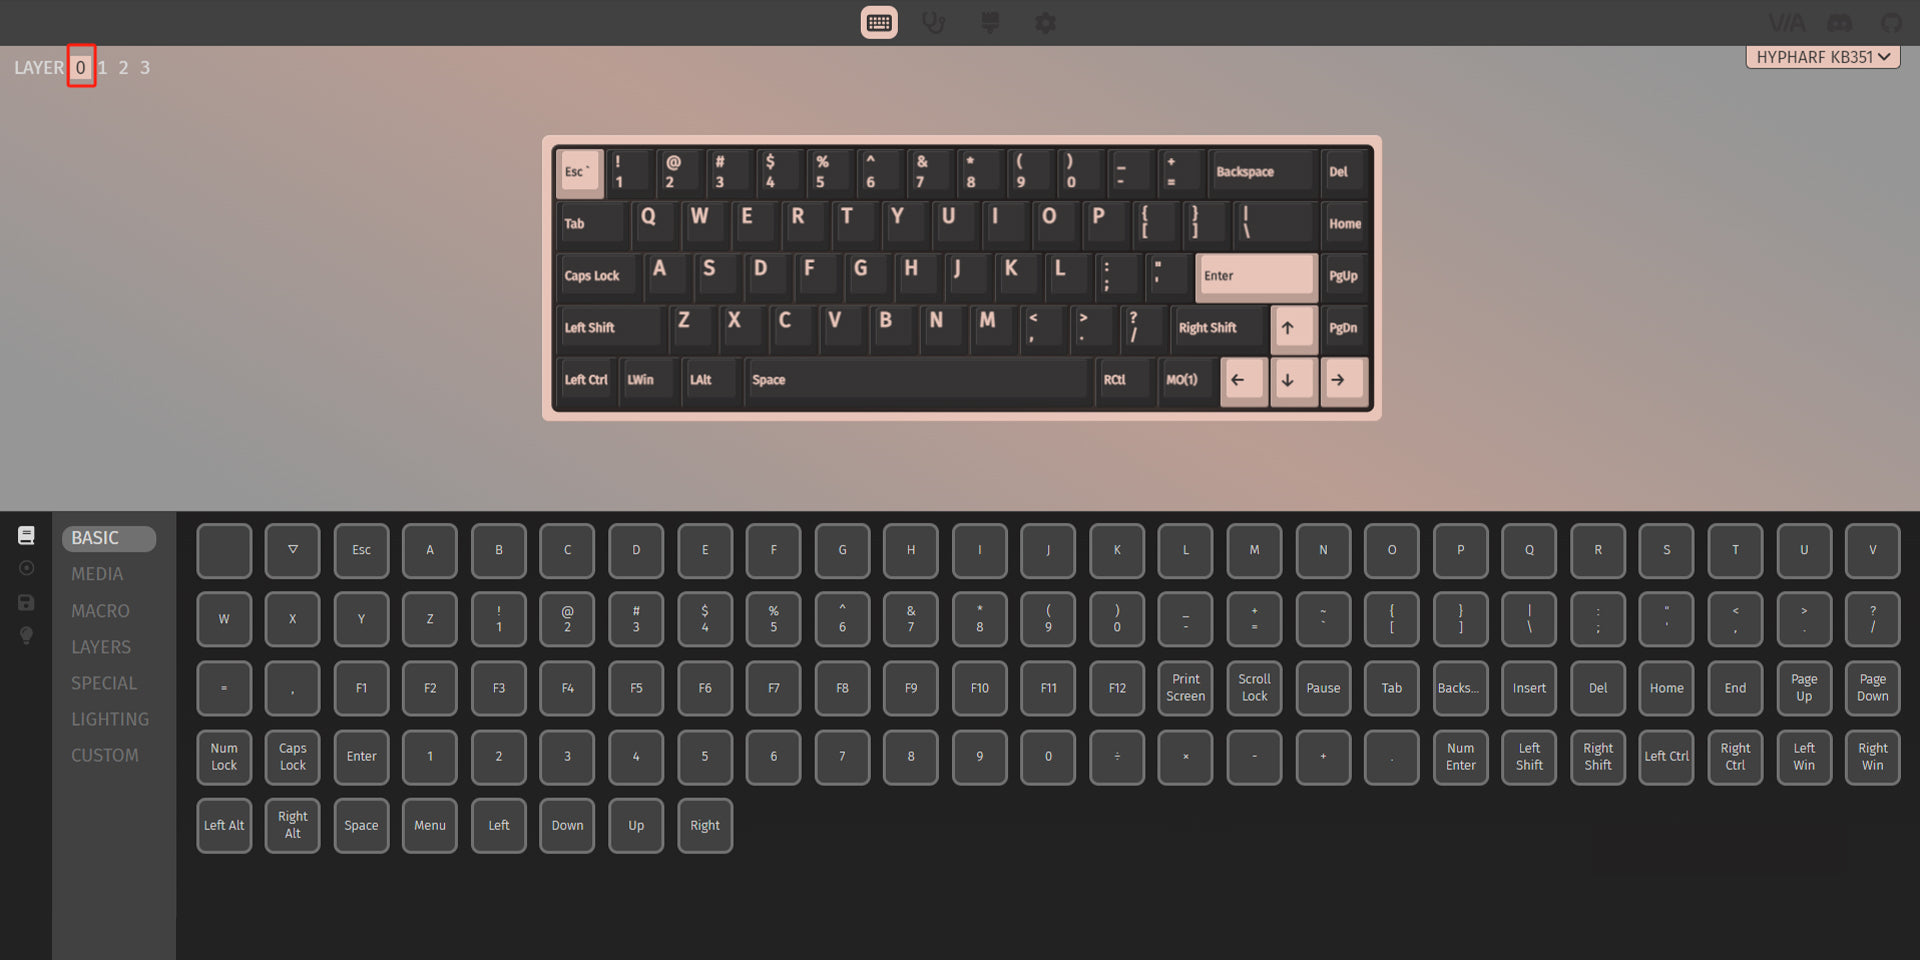
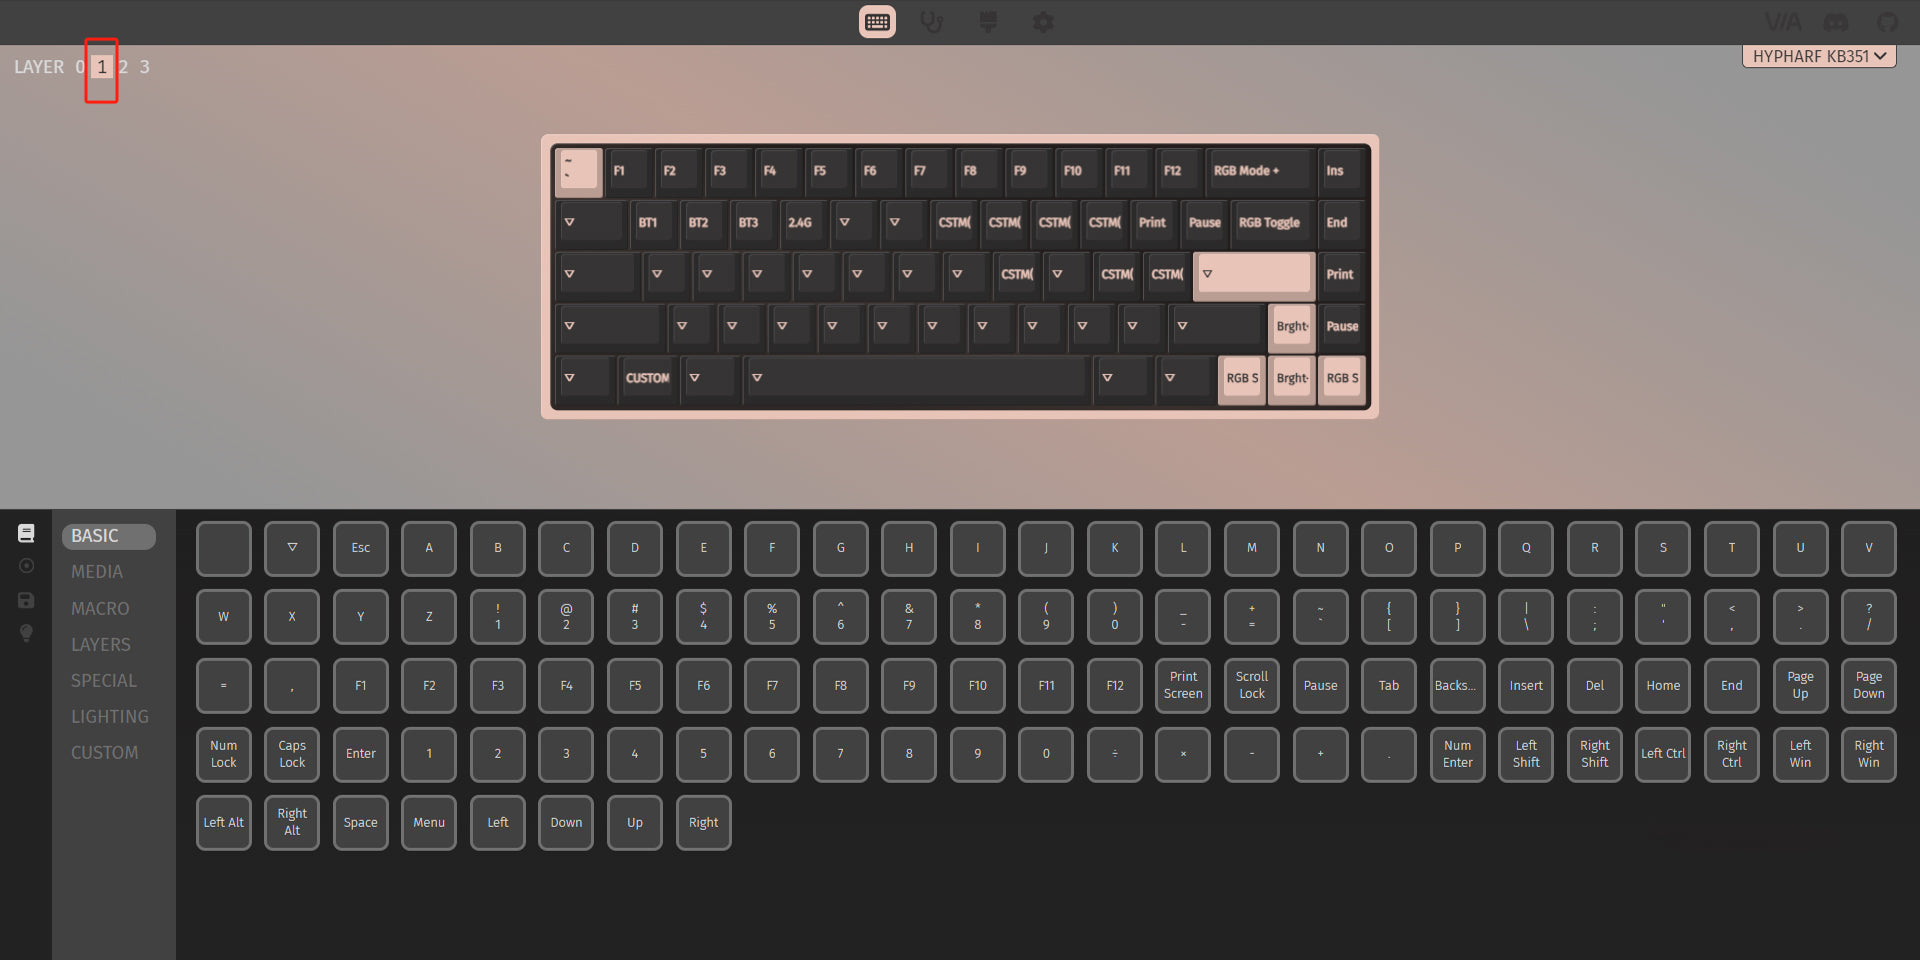
7. Working with Layers and Keymap Sections
- To view and edit different layers, click the Layer button in the top left corner, You can only view one layer at a time.
- Under the Configure tab, select the KEYMAP section. Click on the key you want to remap and choose from the available sections:
BASIC / MEDIA / MACRO / LAYERS / SPECIAL / LIGHTING / CUSTOM
For example, if you want to change lighting effects and colors, click the Lighting tab in the bottom left of the interface.
Remark:
- To access additional layers while using the keyboard, press and hold the Fn key.
- Also note that the Fn key will not light up or register when using the key tester tab in VIA.