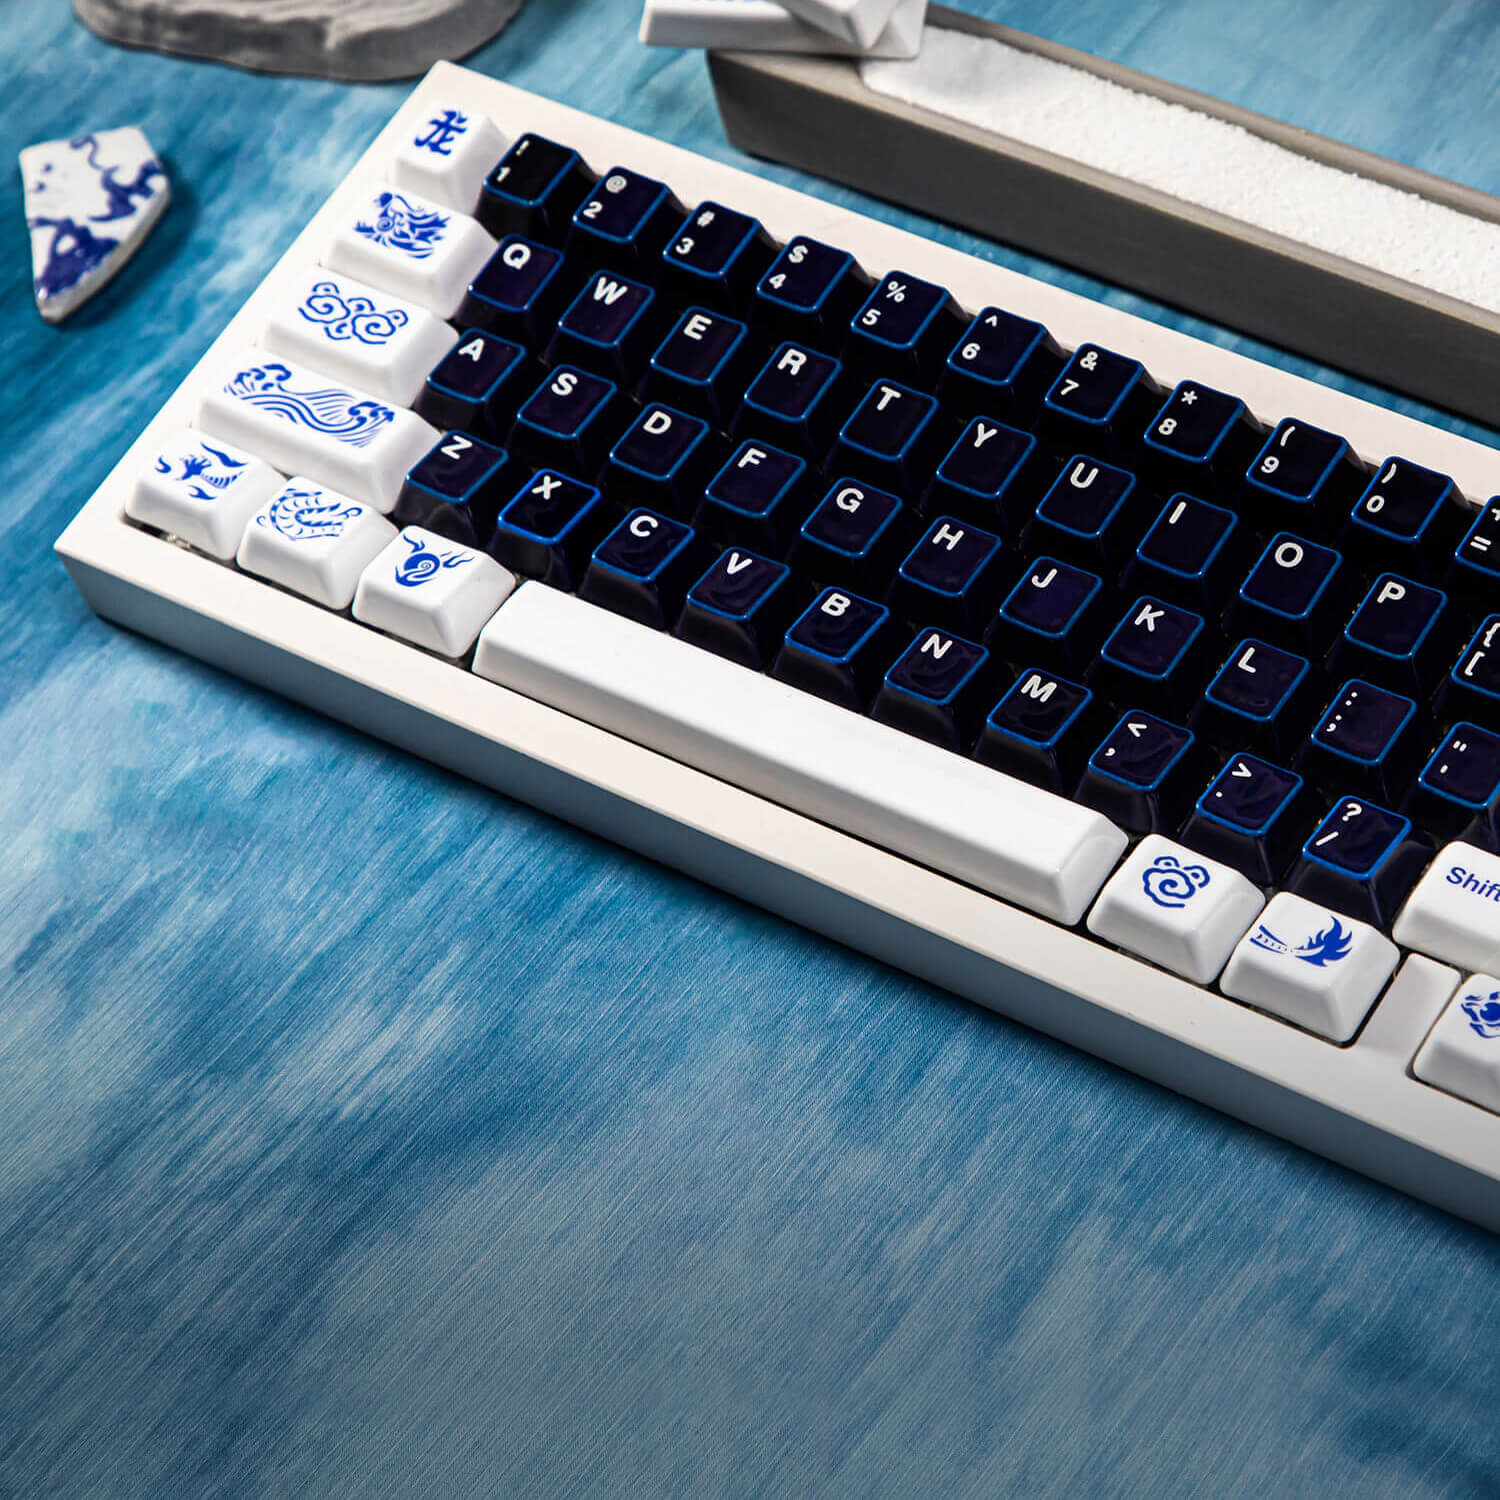
Mechanical keyboards are an important investment, and keeping them clean and well-maintained is crucial. To ensure your keyboard lasts long, it is essential to regularly clean the area under the keycaps. Using the right tools to remove the keycaps can make this process easier and safer.

Whether you have a high-quality keycap puller or want to DIY a temporary tool, here are the steps to safely remove mechanical keyboard keycaps.
Step 1: Choose the Right Keycap Puller

To safely remove the keycaps, it’s recommended to use a high-quality keycap puller with metal wires. These pullers are typically more reliable, comfortable, and easier to use. Plastic pullers tend to break easily and might get lost in a drawer. If you're in a hurry or don’t want to purchase a puller, you can opt for a DIY keycap puller, which will be explained later in this article.
Step 2: Insert the Puller Under the Keycap

Once you have your puller or DIY tool, gently insert it under the keycap from both sides, ensuring that the prongs securely grip the keycap. Avoid using excessive force, and make sure the tool is properly in place before proceeding to the next step.
Step 3: Gently Pull the Keycap Up

With the tool in position, pull the keycap upwards with steady pressure. Be sure to pull vertically to avoid damaging the keycap or other keyboard components. Make sure the puller grips both sides of the keycap evenly to preserve the keycap’s integrity.
How to Choose a Good Keycap Puller
When buying a keycap puller, keep these tips in mind:
- High-quality doesn't mean expensive: You can get a good-quality puller for around $5 to $7. Avoid plastic pullers as they are less durable. Metal ones are generally a better option.
- Metal wires are more durable: While plastic pullers have some advantages, metal wires are usually more durable. It's generally safer to opt for a metal puller.
How to Make a DIY Keycap Puller

If you don’t have a keycap puller, you can make a temporary one using some simple tools:
Materials:
- Two #1 size paper clips
- A twist tie
- Pliers
- A ruler
Steps:
- Straighten the paper clips and bend them into a U-shape, similar to the metal part of a keycap puller.
- Use the pliers to bend the ends outward, like the handles of a binder clip.
- Use the twist tie to secure the paper clip ends together, forming a structure similar to a professional puller.
FAQs
-
Can you remove keycaps without a puller?
Yes, if your fingers can fit between the keycaps, you can pull them off manually. You can also use a small screwdriver or a paper clip to remove them. However, it’s highly recommended to use a keycap puller to avoid damaging the keyboard. -
Can a keycap puller remove switches?
Keycap pullers are designed for removing keycaps, not switches. To remove switches, use a dedicated switch puller. -
What can you use if you don’t have a keycap puller?
You can bend a paper clip into a U-shape or use the clip portion of a binder clip. However, it’s best to use a proper keycap puller to avoid damaging the keycaps or keyboard.
Caring for Your Keycaps
Whether you're cleaning your keyboard, lubricating the switches, or replacing keycaps, it's important to store the removed keycaps properly. Using keycap storage containers with individual compartments can help prevent damage or loss of keycaps.


Leave a comment
This site is protected by hCaptcha and the hCaptcha Privacy Policy and Terms of Service apply.